
Grooming your dog at home is becoming more popular—and for good reason! It helps you save money, keep your dog cleaner, and build a stronger bond during the process. While professional salons can be pricey and hard to schedule, DIY dog grooming is easy with the right tools and tips.
In this guide, we’ll walk you through everything you need to groom your dog at home—from essential tools to step-by-step instructions. Let’s make your dog look and feel like they just came back from the salon, all from the comfort of your living room!
🐶 Why DIY Dog Grooming is a Smart Choice
Grooming your dog yourself comes with several perks:
- Saves money on costly salon visits
- More convenient—you set the schedule
- Early health detection—you’ll notice issues like ticks or skin problems
- Better bonding with your dog
According to the American Kennel Club, regular grooming leads to happier, better-socialized dogs. It’s also key for preventing mats, infections, and pest problems.
✂️ Essential Tools and Supplies for Grooming at Home
Grooming Clippers and Shears
Choose clippers based on coat type:
- Heavy-duty clippers for thick fur
- Precision blades for detail work
- Cordless models for flexibility
Use dog-specific shears that cut safely without pulling fur.
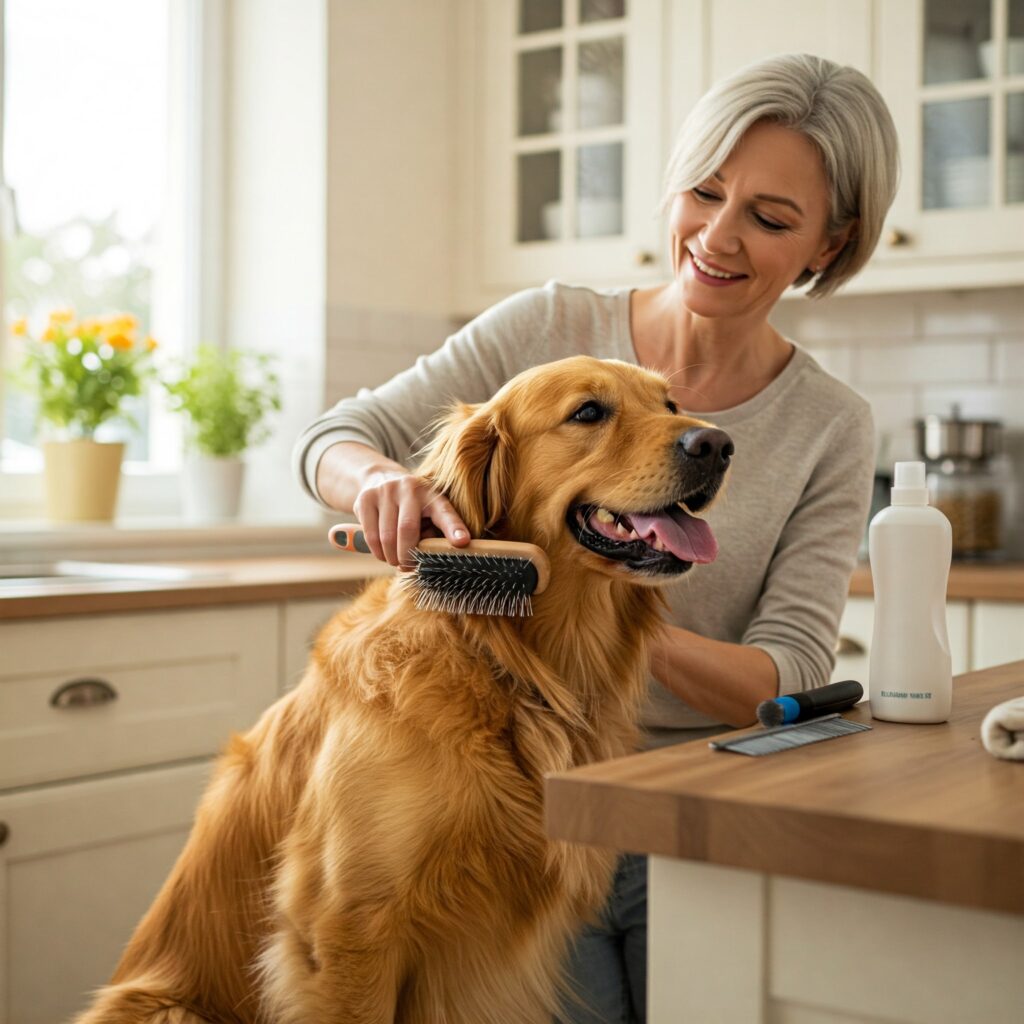
Brushes and Combs
Different coats need different brushes:
- Slicker brushes – great for long-haired breeds
- Bristle brushes – best for short-haired dogs
- Pin brushes – ideal for curly coats
Always brush gently to avoid discomfort.
Bathing Supplies
You’ll need:
- Dog-friendly shampoo (e.g., for sensitive skin or dandruff)
- Non-slip mat
- Drying towels
- Pet-safe blow dryer (low heat setting)
Extra Accessories
- Nail clippers or grinders
- Ear cleaning solution
- Face and hygiene area scissors
- Treats for positive reinforcement
🧼 Step-by-Step Guide to Grooming Your Dog Like a Pro
1. Preparation Before Grooming
Set up a calm, secure space. Use a grooming table or a non-slip mat. Let your dog sniff the tools and get familiar before starting.
2. Bathing and Drying
- Use lukewarm water
- Avoid ears and eyes
- Lather gently and rinse thoroughly
- Dry with a towel and a blow dryer (on low, keep moving to avoid burns)
3. Brushing and Detangling
- Start from the head and brush backwards
- Use a slicker brush or wide-tooth comb for mats
- Be gentle to prevent pulling or hurting the skin
4. Trimming and Clipping
- Trim around eyes, paws, and sanitary areas
- Use clippers for the body—move with the fur grain
- Go slowly and stop if there’s resistance
5. Nail Care and Ear Cleaning
- Trim nails slowly to avoid cutting the quick
- Clean ears using vet-approved solution—never insert deep
- Check for redness or odor, which may signal an infection
6. Finishing Touches
- Inspect paw pads and trim excess fur
- Give your dog a final brush
- End with treats and praise to create a positive experience
🧠 Expert Tips and Common Mistakes to Avoid
✅ Do:
- Stay calm and patient
- Use tools suited for your dog’s coat
- Keep grooming sessions short and consistent
❌ Avoid:
- Over-trimming sensitive areas
- Rushing through sessions
- Skipping safety checks (sharp tools, slick floors)
If you’re unsure about anything, consult a professional or your vet.
🗓 Maintaining Your Dog’s Groomed Look at Home
Grooming isn’t one and done—here’s how to maintain that fresh look:
- Brush 2–3 times a week (daily for long-haired breeds)
- Check ears, nails, and coat weekly
- Schedule full grooming every 4–6 weeks, depending on breed
For dogs with special grooming needs (like Poodles or Shih Tzus), consider hybrid grooming: regular at-home care with occasional professional trims.
🐾 Final Thoughts
DIY dog grooming doesn’t just save you money—it creates bonding moments and helps your dog stay healthy and happy. With the right tools, patience, and a little practice, you’ll be grooming like a pro in no time!
Remember: consistency is key. Don’t worry if it’s not perfect at first—each session builds your skills and confidence.
Have grooming questions or tips to share? Drop them in the comments below!
Also Read: